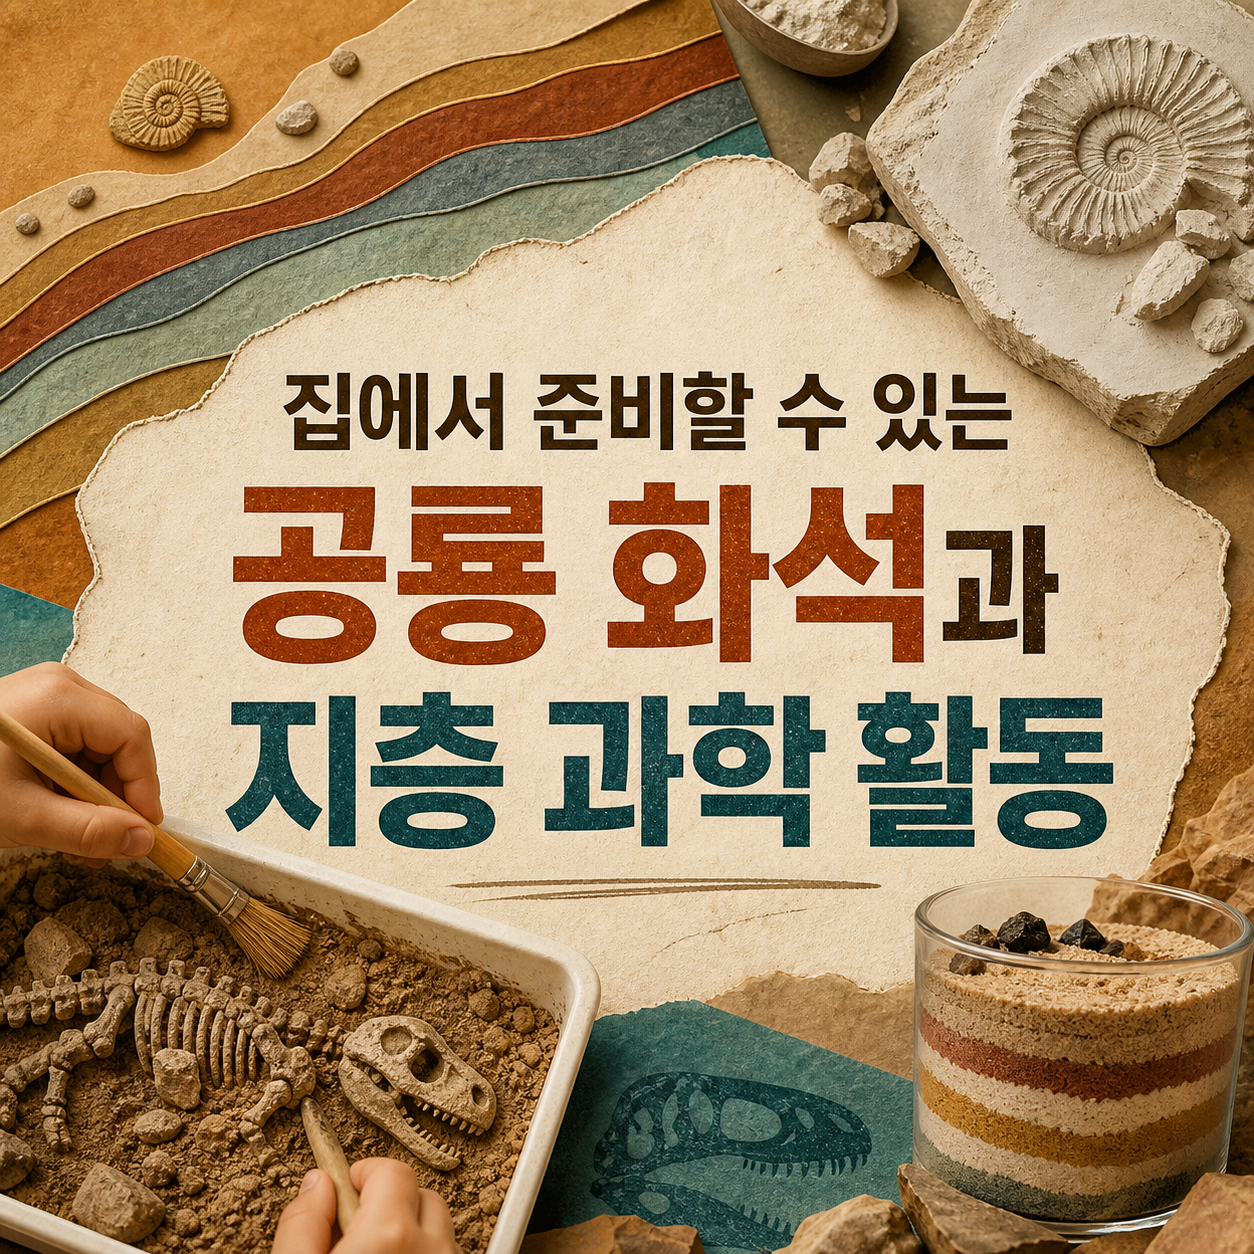
Ten at-home dinosaur science activities ranked by age fit and how many materials you need, built around predicting, observing, and explaining.
The first thing parents get stuck on when trying dinosaur fossil or rock-layer activities at home is "what age is this actually for" and "can I use what's already in the house, or do I need to buy something." This list is ordered by exactly those two things — age fit and how many materials you need. The earlier entries use simple household items and work from around age 5 or 6, while the later ones bring in the kind of observing, comparing, and graphing that suits kids 7 and up.
There's one selection rule behind all ten: can this activity get a child to say "what do you think will happen?" before the result is finished. Activities that are mostly about building a polished model were left out on purpose.
How these were chosen
- Can it start with things already at home (clay, sand, flour, ice)?
- Does it naturally move through predict, observe, explain?
- Is the age fit clearly different from one activity to the next?
- Are materials that need extra care flagged up front?
If your child is 5 or 6, start with #1 through #4. For 7 and up who are ready for comparing and sorting, jump to #6, #9, or #10.
Reading Gait from Clay Footprints

Building Rock Layers with Colored Sand

Comparing Molds and Casts with Salt Dough

Excavating a Dinosaur Frozen in Ice

Reconstructing a Paper Skeleton

Inferring Diet from Tooth Shape

Measuring True Dinosaur Length with a Tape Measure

Comparing Feathers and Scales to Understand Dinosaur Skin

Comparing Egg Sizes to Understand Growth

Sorting Dinosaurs by Categories Your Child Chooses

Picking by situation
If you want to start young with almost no material cost, try #1 (clay footprints) or #2 (colored sand layers). If your child learns best by handling things directly, #3 (salt dough) and #4 (ice excavation) work well.
For kids 7 and up who are ready to go past observing into comparing and inferring, #6 (tooth shape), #9 (egg size), and #10 (sorting by their own categories) are the strongest picks. All ten share the same goal — getting the child to predict and check for themselves rather than being handed the answer.
The age guidance and methods here are general starting points, and kids develop at different paces, so adjust materials and difficulty as you go — this information reflects the time it was researched and may change, so check official sources before buying anything.
Frequently asked questions
What age can kids start these dinosaur activities?
Visual activities like footprints or layered sand work from around age 5, while classification or graphing activities suit kids 7 and up better. The starting age matters less than whether your child feels free to ask 'why' — when a question comes up, pick the activity that answers it.
Do I need to buy all the materials in advance?
Clay, colored sand, and a clear cup cover most of these activities. Rather than stocking up all at once, finish one activity fully, check what your child took away from it, and buy the next round of materials while their interest is still fresh.
What safety points matter during these activities?
Check for allergies before using food ingredients like flour or eggs, and use age-appropriate safety scissors. Avoid hot water or sharp tools when melting ice, and treat handwashing afterward as part of the activity, not an afterthought.
Do I need a real excavation kit?
No — every activity on this list works with things already at home, like clay, colored sand, flour, ice, and a tape measure. Even if you buy a commercial dig kit, it works on the same principle as activity #4, so the predict-observe-explain routine matters more than the kit itself.
Can these be done without outdoor space?
Only #7, measuring true length with a tape measure, needs a long stretch of floor. The other nine work fine on a living room floor or kitchen table. If you're short on space, skip #7 or do a shorter version in a hallway or nearby park.
Get new lists before anyone else
Once a week — only the new lists worth your time.
No spam · unsubscribe in one click
You may also like

How Scientists Actually Monitor a Volcano Before It Erupts
No single signal predicts an eruption; scientists layer seismic, deformation, gas, thermal, satellite, and geologic data instead, and here's how each method works.

Long Before Flight — Ten Fossil Clues That Link Dinosaurs to Birds
From feathers and the wishbone to brooding posture, ten pieces of fossil evidence traced in the order they appeared on the path to modern birds.
Ten Fossils That Made Paleontologists Rewrite the Dinosaur Textbook
From gray reptile to feathered, social, possibly semi-aquatic animal: ten fossil finds that forced scientists to redraw dinosaurs, and what each one actually proved.
What the Fossils Actually Prove: 10 Dinosaur Nests and the Case for Parental Care
Nesting posture, egg arrangement, and eggshell pores separate what fossils confirm from what remains inference about dinosaur parenting.