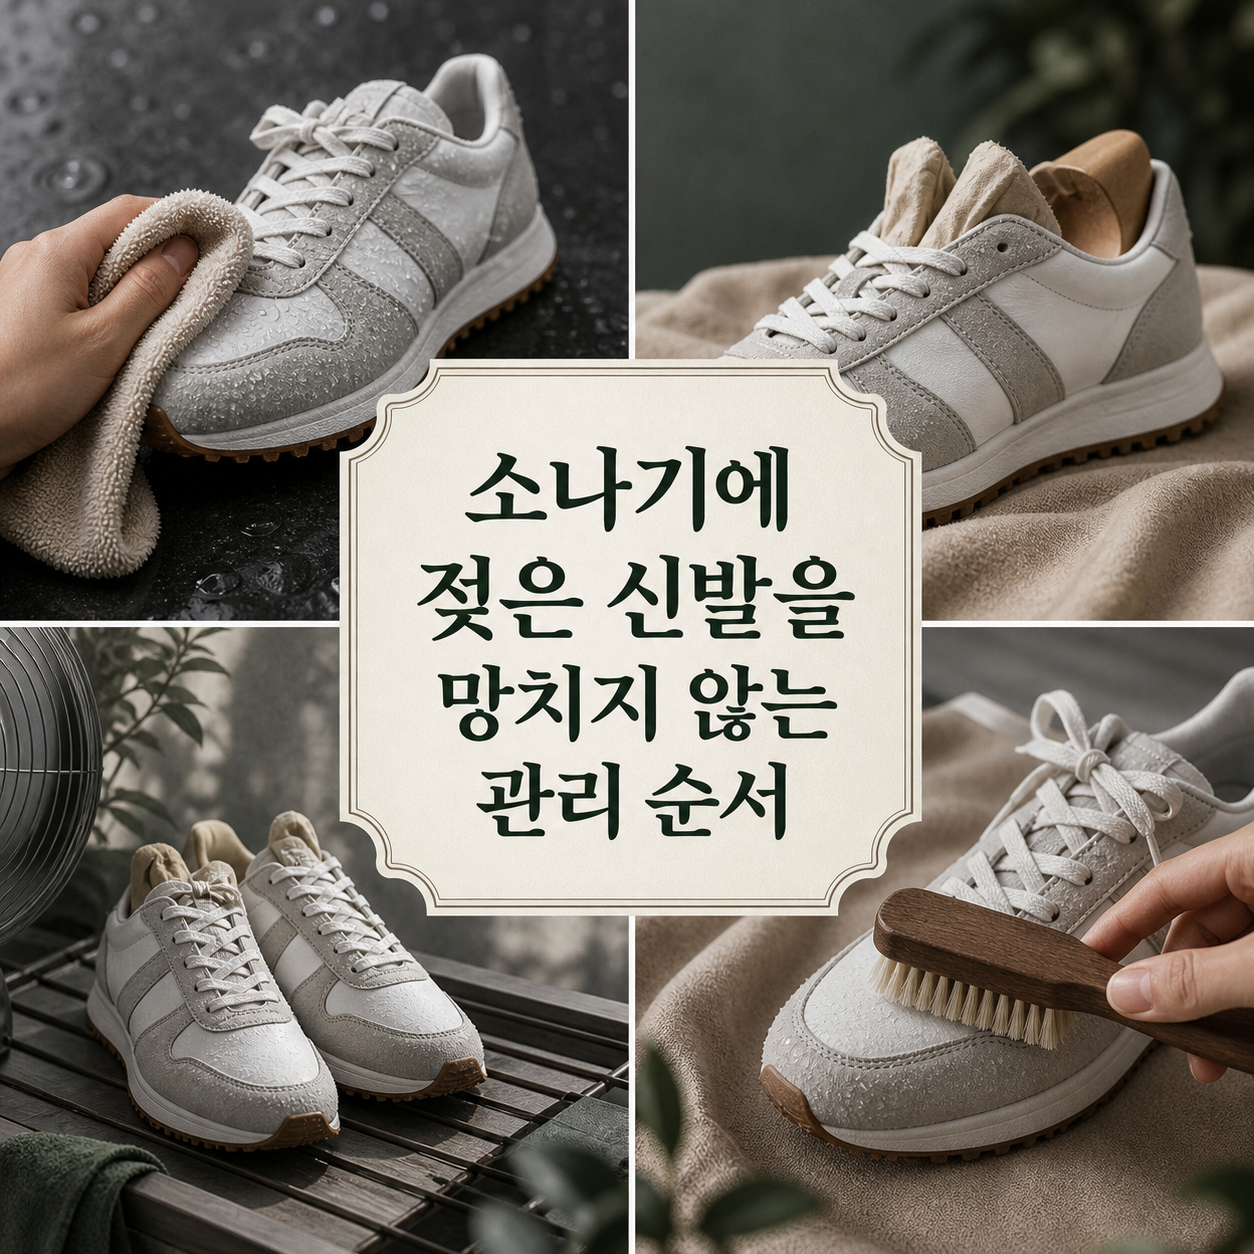
Check the material first, then dry soaked shoes slowly in the shade without heat so the shape and glue hold up.
If your shoes got caught in a downpour, hurrying is what costs you. The real culprits are usually the blow-dryer, the heater, and the direct sun you use to rush things, not the rain itself. Leather warps, suede stains and spreads, and mesh or canvas stays damp deep inside. The same rain calls for different moves depending on the material.
This list lays out ten steps from the moment your shoes get soaked until they are fully dry. First identify the material and any removable parts, then clear off dirt and surface water, then reshape the shoe and dry it in the shade. The later steps, such as deodorizing, re-waterproofing, and knowing when to hand a pair to a pro, come after the shoe is dry.
How we chose
- Mistakes that can cause permanent damage come first.
- Only methods that work with a towel, paper, and a fan from around the house made the cut.
- Points where materials differ are called out separately.
In a hurry, steps 1 to 6 are enough. Turn to steps 7 to 10 once the shoes are dry and a smell or stain remains.
Check the Care Label and Material
Clear Surface Dirt Quickly
Remove the Insole and Laces
Blot Moisture With a Towel
Hold the Shape With Paper or a Shoe Tree
Dry Slowly in a Shaded, Ventilated Spot
Spot-Clean by Material
Deodorize Only After Full Drying
Consider Reapplying Water Repellent
Consult a Professional for High-End or Severe Damage
How to choose
Right after the rain, follow steps 1 through 6 in order, from checking the material to drying in the shade. That stretch decides how long the shoe lasts. If the inside stays damp, recheck step 3 (removing the insole) and step 5 (holding the shape); if a smell lingers after drying, move on to step 8. For expensive leather or seams that have started to separate, it is safer to consider step 10 and consult a professional from the start.
Detergents and repellents differ by material, so test on a hidden spot first. This is general care guidance and products vary, so check the manufacturer's instructions or official service channel before you apply anything.
Frequently asked questions
Can I dry wet shoes with a blow-dryer or heater?
It is not recommended. Strong heat weakens adhesive and warps leather and rubber. Drying slowly in the shade with a light breeze, over a day or two, is the safer way.
Is it okay to stuff newspaper into wet shoes?
It helps hold the shape and soak up moisture, but the ink can transfer onto a light lining. For pale shoes, use plain white paper or a shoe tree, and swap the paper often.
When should I deal with shoe odor?
Only after the shoes are completely dry. Covering the smell with fragrance while damp traps moisture and can make it worse. Once dry, leave activated charcoal or baking soda inside overnight.
Do I really need to take the insole out of wet shoes?
Yes, if it is removable. Pull it out and dry it separately, since leaving it in slows drying and feeds odor. If it is glued in, do not pry it out; leave it to a professional.
When should I take shoes to a cleaner or service center?
Consider it for expensive leather, seams that have come apart, or heavy discoloration. If a mold smell has already set in, tell them the material and how long the shoes stayed wet before trying more at home.
Get new lists before anyone else
Once a week — only the new lists worth your time.
No spam · unsubscribe in one click
You may also like
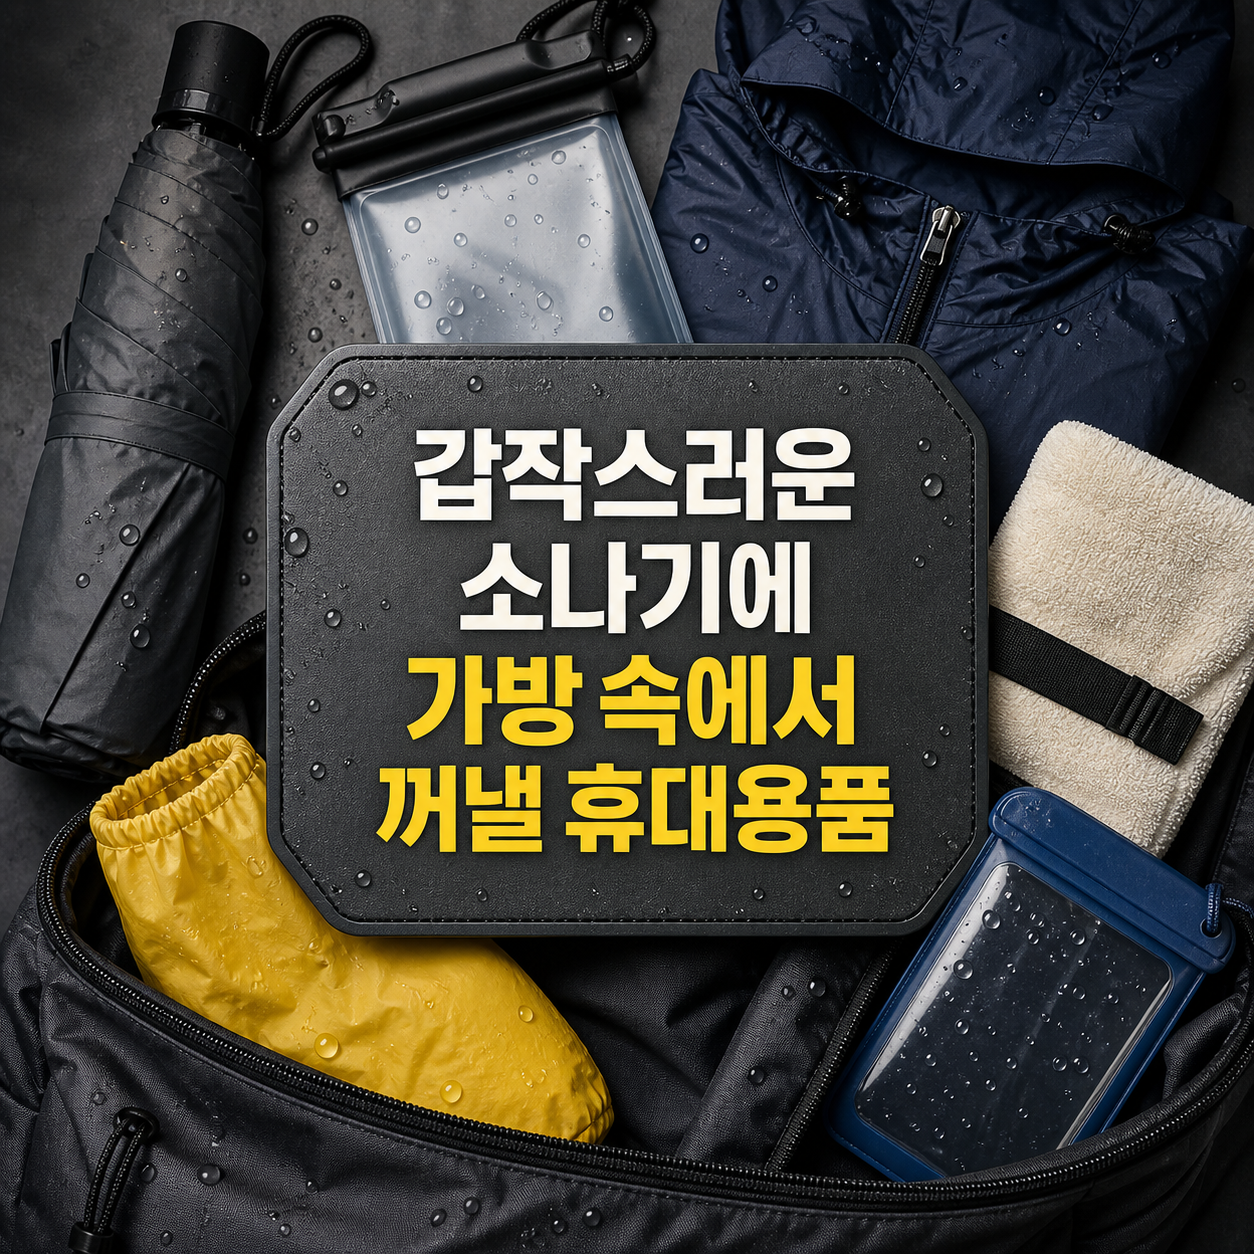
The Rain Kit That's Only Useful If You Actually Carry It
For sudden showers, pick the light, slim umbrella, pouch or dry bag you will carry every day before chasing the highest waterproof rating.

Don't Press the Power Button First — A 10-Step Guide for Rain-Soaked Bags and Electronics
Bags need drying first, devices need power cut first — get the order right after a soaking and you're looking at a repair bill, not a replacement.

Choosing Liquid Detergent: Washer Compatibility Before Scent
Deciding drum compatibility, scent, and indoor-drying performance first makes picking a liquid detergent much easier.

Why You Shouldn't Just Grab Any Stain Remover
Spot stains call for a pretreatment, yellowed whites call for oxygen bleach, and if measuring detergent every load annoys you, that's what pods are for — match the product to the problem, not the shelf display.