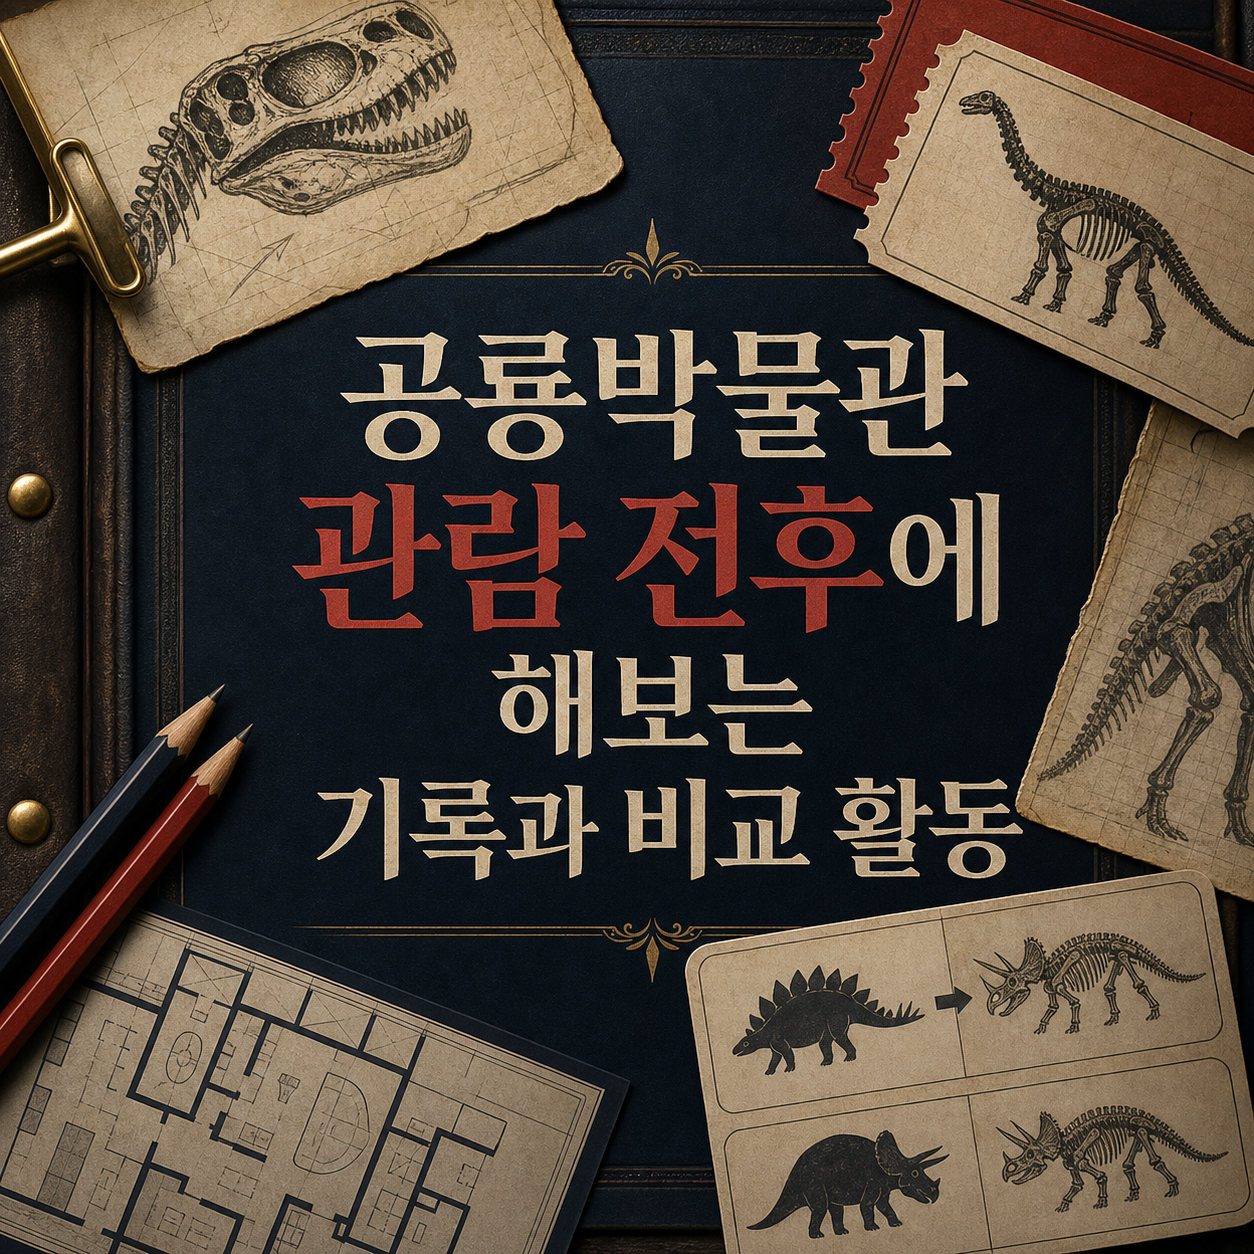
Starting with pre-visit questions, moving into on-site fossil identification, and closing with post-visit comparison and discussion, a single dinosaur museum trip can naturally turn into weeks of hands-on exploration.
Walking through the galleries once and leaving with a handful of photos rarely tells you what a child actually took away from it. This list orders ten activities — questions before you go, fossil identification on-site, and follow-up once you're home — along the arc of a single visit. It isn't built around one museum; the same structure works at a large national museum or a small regional one.
How We Chose These
- Ordered to match the before, during, and after stages of a trip.
- Limited to activities needing only a notebook and a few colored stickers.
- Prioritized observing and comparing over simple memorization.
- Kept only activities that work regardless of museum size or a child's age.
All you need is a notebook, a color code, and curiosity. Follow the list from rank 1 and a day trip can stretch into weeks of exploration — short on time, ranks 1 through 3 alone are worth doing.
Write Three Questions Before You Go

Prep Stickers for Real, Cast, and Reconstructed Fossils

Read and Record Exhibit Labels

Sketch a Size Comparison

Recreate the Fossilization Process

Map Where Dinosaur Fossils Were Found

Compare Museum Photos with Science Videos

Separate Fact from Hypothesis

Discuss Extinction Scenarios

Write Questions for the Next Visit

How to Use This List
Short on time, rank 1 (write questions) and rank 2 (color-code fossils) already change how closely a child looks around. With more time, add rank 3's labels and rank 4's size comparison on-site, then finish at home with rank 5's fossilization or rank 8's fact-versus-hypothesis exercise.
Comparing museums first, check the collection and whether hands-on programs run. This reflects research as of September 2026 — details can change, so confirm with each museum's official channel before you go.
Frequently asked questions
Is there anything I need to prepare before the visit?
Nothing special. Browsing the museum's website and picking two or three dinosaurs the child is curious about is enough. Giving too much information ahead of time can take away from the fun of discovering things on-site, so a light round of questions works better than heavy prep.
How can you tell a real fossil from a replica?
Exhibit labels usually note whether a piece is an 'Original,' a 'Replica,' or a 'Reconstruction.' Searching for and reading these labels together is itself a good observation exercise, and color-coding them with stickers makes it easy to remember which was which when you look back at photos later.
When's the best time to do the follow-up activities?
Within two or three days of the visit, while the details are still fresh. Wait too long and specifics start to fade, so if you went over the weekend, try to do at least a short recap early the following week.
Do these activities work for any age?
Preschoolers can enjoy the question-writing, sticker sorting, and size comparison activities on their own. Older elementary-age kids can go further into separating fact from hypothesis or discussing extinction scenarios. Just adjust how many activities you do based on the child's attention span.
Do these work at natural history museums that aren't dinosaur-specific?
Yes. These ten activities are built around how fossils and reconstructions are typically displayed, not around any one museum's exhibits, so they apply equally to a large national museum or a small regional natural history museum.
Get new lists before anyone else
Once a week — only the new lists worth your time.
No spam · unsubscribe in one click
You may also like

How Scientists Actually Monitor a Volcano Before It Erupts
No single signal predicts an eruption; scientists layer seismic, deformation, gas, thermal, satellite, and geologic data instead, and here's how each method works.

Long Before Flight — Ten Fossil Clues That Link Dinosaurs to Birds
From feathers and the wishbone to brooding posture, ten pieces of fossil evidence traced in the order they appeared on the path to modern birds.
Ten Fossils That Made Paleontologists Rewrite the Dinosaur Textbook
From gray reptile to feathered, social, possibly semi-aquatic animal: ten fossil finds that forced scientists to redraw dinosaurs, and what each one actually proved.
Dinosaur Play Turns Into Science the Moment You Ask 'What Do You Think Happens?'
Ten at-home dinosaur science activities ranked by age fit and how many materials you need, built around predicting, observing, and explaining.