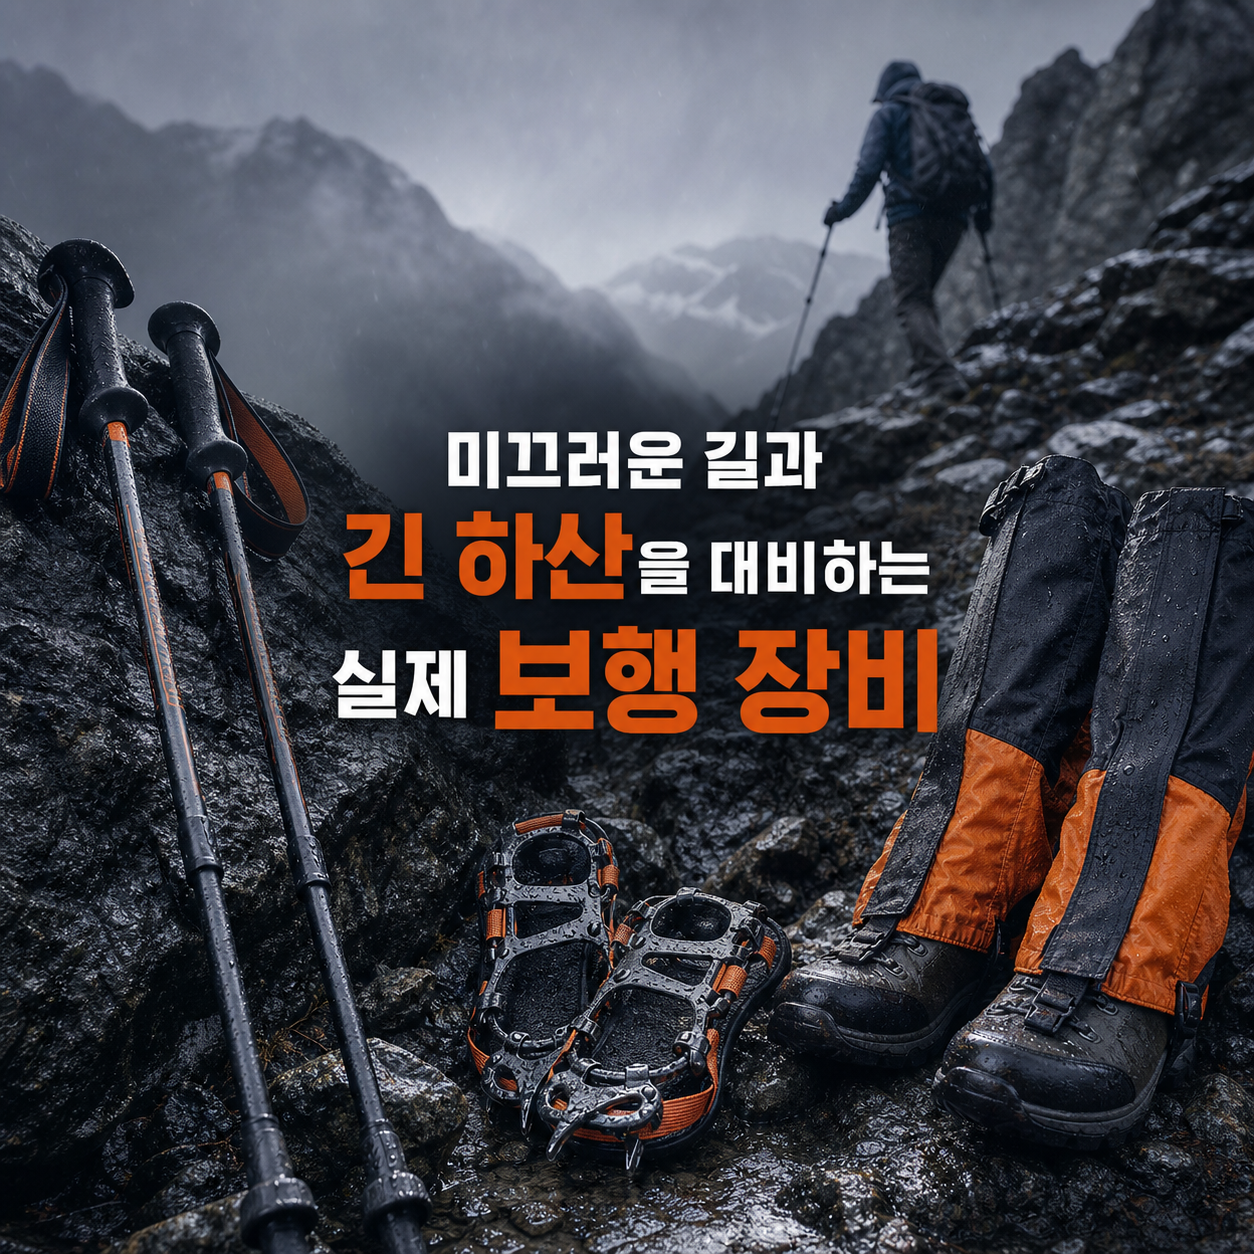
Poles, spikes, and gaiters only earn their keep when matched to terrain, season, and each other — not picked by name alone.
Whether to prioritize trekking poles, ice spikes, or gaiters comes down to the terrain and season ahead of you. Not all trekking poles are alike — a day hike and a long traverse call for different weight and handling, and spikes or gaiters need very different things on a gentle icy path versus deep snow. Picking by brand name or spec sheet alone often means gear that sits unused once you're actually on the trail.
This list is ordered to cut through that confusion: aluminum poles, then carbon poles, then spikes, then gaiters. Ranking is based on weight, durability, ease of handling, and compatibility with the boots and pack you already own, not price. Elements that touch your hand directly, like cork grips, and safety-related details, like lock mechanisms, come first, and picks narrow further by season and route difficulty.
How to read this list
- New to poles on day hikes? Start with the aluminum poles at #1-3.
- Cutting weight as an experienced hiker? Compare the carbon poles at #4-6.
- Worried about ice or packed snow in winter? Check #7-8 spikes, and pair with #9-10 gaiters if deep snow is expected.
- Before buying, always test the fit and handling in-store or on a short, safe stretch.
01
This adjustable aluminum pole is an easy entry point for day hikers picking up trekking poles for the first time, helping them get used to distributing weight across both hands. Shorten it on climbs and lengthen it on descents to ease strain on the knees. Before buying, press on the lock mechanism to make sure it doesn't slip, and check that the wrist strap fits your wrist size. On narrow trails, keep the tips below eye level of hikers behind you, and check tip wear periodically on long descents.

02
Cork grips absorb sweat well and gradually mold to the shape of your hand, which helps hikers whose hands sweat a lot or who spend long hours on the trail. Before buying, check that the grip surface hasn't worn smooth and that the rubber tip isn't cracked. Thread the wrist strap up from underneath your hand rather than over it, since a fall with the strap caught wrong can injure the wrist — worth practicing before your first use. Also check that the grip stays comfortable over a long hike.

03
The ergonomically angled grip naturally holds a comfortable wrist angle on both climbs and descents, which helps hikers looking to ease strain on both knees and wrists over a long hike. Grips are often left/right specific, so try both in hand before buying and confirm the length range covers your route's elevation change. Avoid putting your full weight onto the poles on descents — spreading weight between your stride and the poles gives better knee protection.

04
A fixed-length folding carbon pole aimed at experienced hikers and long-distance trekkers who want to cut weight as much as possible. Since length isn't adjustable, check the exact size against your height and arm length before buying, and make sure the folding joints don't loosen during use. Carbon is light but more vulnerable to sideways impact, so it can crack easily if wedged into rock or knocked hard — better suited to flat, long routes than rocky scrambles.

05
Using the same folding design but in aluminum, this pole holds up to impact better than carbon and costs less, making it a balanced pick for hikers who want both packability and durability. It's a fixed length, so confirm the size matches your height beforehand, and get in the habit of visually checking the joints are fully locked before loading weight — putting weight on a half-assembled pole risks breaking it. It also packs down small enough to fit in a side pocket.

06
Pairing a carbon shaft for lighter weight with a cork grip for comfort, this suits experienced hikers doing long, all-season routes who are sensitive to pack weight. The FlickLock mechanism's hold depends on how tightly it's clamped, so check partway through a hike that it hasn't loosened. Carbon shafts are more fragile against impact, so if a pole wedges into a rock crevice, work it free at different angles rather than twisting hard, which can snap it. Check the shaft surface for damage periodically with long-term use.

07
A chain-and-spike overshoe that slips over your boot sole, cutting down on slipping over gentle icy patches or packed snow. Choose a size that matches your boot so it doesn't come loose, and check the chain tension is snug — a loose fit can actually catch and trip you, so stomp your foot a few times after putting them on to check they're secure. Keep in mind this kind of chain spike is only a light aid for gentle terrain; technical ice walls or steep snow slopes call for real crampons, which is worth confirming when you plan your route.

08
Built around minimal weight, this spike suits hikers moving quickly or almost jogging along snowy winter trails. Before wearing, check the front-back orientation and that it's fully locked to the shoe so you don't feel it shift with each step. On bare rock or dry trail sections, the spikes can actually skid or snag, so it's safer to slow down or take them off there. The light weight also makes them easy to carry in a pack when not in use.

09
A tall gaiter that covers well up past the boot ankle, keeping deep snow out of your shoes on winter hikes. Check that the boot circumference and lower strap fit your footwear, and since a loose strap can slip off while walking, take a few steps after putting it on to confirm it holds. Keep in mind the gaiter itself doesn't replace the waterproofing or insulation of the boot — for routes with deep snow expected, pair it with waterproof hiking boots to keep feet fully dry.

10
A low, light gaiter that covers only around the ankle, good for casually keeping dirt, gravel, or shallow snow out of your shoes on routes with little snow. Check the front boot hook and how snugly it sits at the ankle to make sure it doesn't slide down while walking. Because coverage is limited, it may not be enough protection for routes where deep snow or heavy rain is expected — a taller gaiter that covers above the ankle is the better choice there.

How to Choose
If you're buying your first pole mainly for day hikes, start with an adjustable aluminum pole like #1 or #2 and get used to the wrist strap and grip feel. For long traverses or if cutting weight matters most, compare the carbon poles at #4-6, or look at #3 with its ergonomic grip if easing knee strain is the priority. If you regularly face icy or packed-snow trails in winter, pack spike #7 or #8 — but remember steep, technical snow and ice still calls for real crampons.
When comparing, match weight and length-adjustment range first, then check safety-critical details like lock mechanisms or chain tension. Gaiters aren't a substitute for waterproof boots — for deep snow, a tall gaiter like #9 that covers above the boot works better, while a low gaiter like #10 is enough for a casual walk. All details here reflect the time of research and specs or prices may change, so confirm with the official channel before buying.
Frequently asked questions
How do I choose a trekking pole?
For short day hikes, an adjustable aluminum pole is plenty; for long traverses or if you want to cut weight, look at carbon or folding designs. Test the grip material and length range against your own build and route at the store before buying.
Are spikes the same as crampons?
Chain-style spikes are a light add-on that cuts slipping on gentle icy paths or packed snow, while technical ice or steep snow climbing calls for real crampons. Check your route's difficulty before relying on spikes alone in rough terrain.
Can gaiters replace waterproof hiking boots?
Gaiters only reduce how much snow or debris gets into your boots from above — they don't substitute for the boot's own waterproofing or insulation. If you're expecting deep snow or heavy rain, pack waterproof boots and gaiters together.
What season do gaiters matter for?
Gaiters are an add-on that keeps snow, mud, or debris from getting into your boots, mainly useful in deep winter snow or on muddy, gravelly trails. On routes with little snow, a low, light gaiter is enough, while deep snow calls for a taller gaiter that covers up past the boot.
Should I choose carbon or aluminum poles?
Carbon poles are lighter but more fragile against impact, and can crack if knocked against rock, while aluminum poles are a bit heavier but hold up better on rough terrain. Choose carbon if you want to cut weight on long traverses, and aluminum if you expect frequent knocks.
How do I size a trekking pole?
As a baseline, the pole should let your elbow bend to about 90 degrees when you hold it on flat ground, shortened on climbs and lengthened on descents. Fixed-length poles don't adjust, so double-check the size against your height before buying.
NEWSLETTER
Get new lists before anyone else
Once a week — only the new lists worth your time.
No spam · unsubscribe in one click
This page contains affiliate links. We may earn a commission from qualifying purchases.