TOP 10

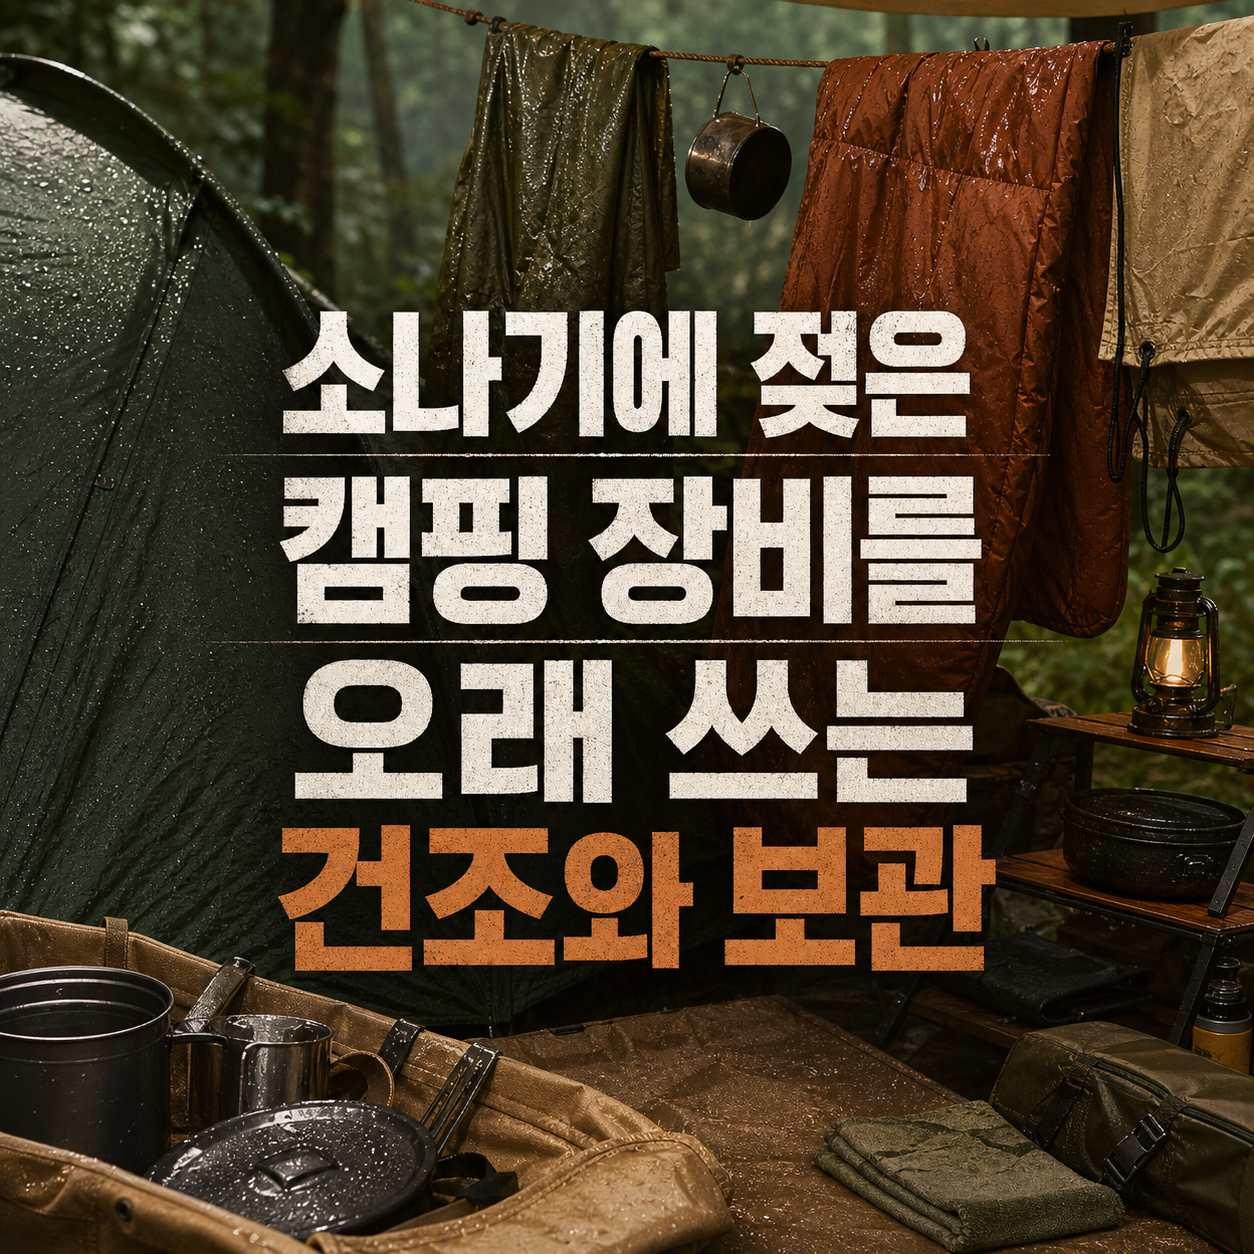
Wet Camping Gear: The Drying Order That Decides How Long It Lasts

Updated 9/10/2026
Wet Camping Gear: The Drying Order That Decides How Long It Lasts

Dry your gear by material and in the right order, and mold and rust stop being a recurring camping problem

Getting caught in rain isn't the real problem — what happens once you're home is. Leave a tent damp a day or two and it starts smelling of mildew, while stakes and pole joints quietly corrode unnoticed until the next trip. Most people call gear dry once the outer fabric feels dry and pack it away, but damage usually starts where you can't see it — inside a seam, or deep in a sleeping bag's fill. Every material dries at a different speed and fails differently, so drying it all at once with no order means something gets missed. This list orders the drying and checks by material — fabric, metal, insulation, then electronics — so the same gear comes out clean next time.

How this list was built

  • Gear that actually molds, rusts, or loses water resistance after a wet trip
  • A mix of fabric, metal, insulation, and electronics, each failing differently
  • An order you can follow step by step from the moment you get home
  • A final checkpoint for right before storage

Large fabric pieces like the tent and tarp come first, metal parts sit in the middle, and electronics come last. Following the order in sequence cuts cleanup time and heads off the mold or rust damage that ends up costing you a replacement.

01

Tent — pitch it fully in the shade

A tent's seams and floor coating tend to fail before the fabric does. Pull it out of the sack right away and pitch it inside-out in a shaded, breezy spot, opening up overlapping layers like the pole sleeves so air reaches them. Leave it damp in a bag even a few days and a mildew smell sets in that won't come out later, and the coating can quietly weaken too. For a larger tent, give it a full day and flip it partway through.
Tent — pitch it fully in the shade
02

Tarp — spot-clean, then air-dry loose

A tarp's large surface makes dirt and sap stains obvious. Wipe only the stained spots with water and a soft cloth, then hang it loosely rather than pulling it taut. Harsh detergent, pressure washing, or a hot dryer can strip the coating, so it actually needs gentler handling than the tent. Check the guy-line points and grommets once more at the end, since water pools and lingers there.
Tarp — spot-clean, then air-dry loose
03

Poles and joints — separate each section to dry

Water trapped inside pole tubing is invisible, which is exactly why it gets skipped. Take each section apart, wipe the inside, air it out, then reassemble. Forcing sandy joints together or over-oiling them just makes the connections stiffer and harder to pitch next time. If an elastic cord runs through the poles, check it isn't still damp before packing up.
Poles and joints — separate each section to dry
04

Stakes and mallet — clean off soil, dry completely

Stakes are small enough to overlook, but skip drying them and they'll turn up rusted next trip. Brush off the dirt, dry them fully, and set aside any bent or dulled ones for replacement. Don't seal damp stakes in the same bag as your tent fabric — that traps rust and mildew smell together. If the mallet has a wooden handle, dry it carefully so the wood doesn't crack.
Stakes and mallet — clean off soil, dry completely
05

Rope and guylines — untie knots, lay them out

The inside of a knot dries slower than it looks, and staying wet there can weaken the line over time. Undo every knot, spread the rope loosely, and run it through your hands checking for fraying or cuts. Draping it near a heater to dry faster can damage the fibers and weaken it instead. Once fully dry, coil it neatly rather than leaving it tangled, so it's ready to grab next time.
Rope and guylines — untie knots, lay them out
06

Sleeping bag — dry the insulation, not just the shell

A sleeping bag's shell often looks dry while moisture stays trapped in the fill underneath. Check the care label and use low heat or air-drying to reach the inside, fluffing down bags now and then to break up clumping. Packing it away even slightly damp noticeably cuts its warmth next trip. The stitching around the zipper holds moisture too, so press along it by hand to check.
Sleeping bag — dry the insulation, not just the shell
07

Sleeping pad — open the valve, check for leaks too

An air pad needs a check for hidden damage, not just surface moisture. Open the valve, wipe it inside and out, let it dry fully, then inflate it and leave it a few days to watch for leaks. Folding it hard while still wet or laying it on a sharp surface can create new punctures that leak air next time out. A self-inflating pad should be rolled loosely with the valve open so the foam inside doesn't stay damp.
Sleeping pad — open the valve, check for leaks too
08

Stove — detach the fuel, inspect the exterior

A stove that got wet needs a safety check before its next use, not just a wipe-down. Disconnect the fuel canister, clean the exterior per the maker's instructions, and get it professionally inspected if the flame seems weak or something smells off, rather than taking it apart yourself. Test-igniting it indoors to clear a clog is genuinely risky — only ever check that outdoors with good airflow. Water also collects between the legs and base, so dry it fully before folding away.
Stove — detach the fuel, inspect the exterior
09

Lantern and batteries — power off, store separately

Electronics are where moisture and batteries turn into a bigger problem together. Turn the lantern off completely, remove any batteries you can, and dry them separately. Plugging a cable into a still-damp charging port is a common way to cause a short, so check by sight and touch that it's fully dry before charging. If batteries sit removed a while, store them somewhere cool and dry, apart from the rest of your gear.
Lantern and batteries — power off, store separately
10

Final smell-and-feel check before packing away

Even once everything looks dry, it's worth one more pass by smell and touch before storage. Go piece by piece checking for musty odor, tackiness, peeling coating, or corrosion. Packing gear away tightly just because the surface feels dry can trap moisture and let mold grow unnoticed, ruining the next trip before it starts. Tossing a moisture absorber into the storage bin further cuts down on lingering dampness.
Final smell-and-feel check before packing away

A quick guide by situation

For the tent (#1) and tarp (#2), pitching them fully open in the shade matters most. Poles and stakes (#3-4) need each part separated so trapped moisture doesn't turn into rust or a stiff joint. The sleeping bag and pad (#6-7) hinge on the fill and valve, not the shell, and the stove and lantern (#8-9) both need a safety check before their next use.

Even once everything looks dry, a last smell-and-feel pass before storage (#10) helps catch mold early. Product details are current as of this review and may change, so confirm specifics through the official channel before buying.

Frequently asked questions

How long does a rain-soaked tent take to fully dry?

It depends on fabric thickness and humidity, but plan on half a day to a full day in shade with airflow. It's only dry once the seams and floor feel cool-free and dry, not just the outer fabric.

Where should I dry gear during a long rainy stretch?

If outdoor shade isn't available, a ventilated balcony or entryway with a fan on low works well. Avoid direct sun or a hot dryer, though — both can damage the waterproof coating.

What if a musty smell has already set in?

Spot-cleaning with diluted baking soda or vinegar, then drying thoroughly again, usually helps. If the smell lingers, follow the maker's washing instructions or use a professional cleaner instead.

Do poles and stakes really need drying separately?

Yes — sealing damp metal with tent fabric speeds up corrosion. Separate each pole section to wipe the inside, and dry stakes fully before storing them apart from the fabric.

My sleeping bag's shell looks dry — can I store it as is?

The shell often looks dry while the fill underneath stays damp, and storing it that way cuts its warmth. Check the care label and dry it from the inside out with low heat or air-drying first.

Is wiping the surface enough for an air pad?

No — inflate it once dry and leave it a while to check for leaks. That's the only way to catch small punctures a wipe-down would miss.

NEWSLETTER

Get new lists before anyone else

Once a week — only the new lists worth your time.

No spam · unsubscribe in one click

This page contains affiliate links. We may earn a commission from qualifying purchases.
How to Dry Wet Camping Gear by Material | Golladream